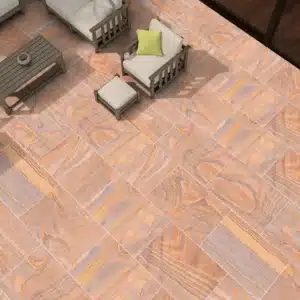
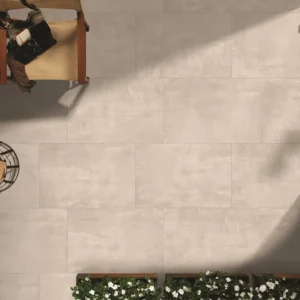
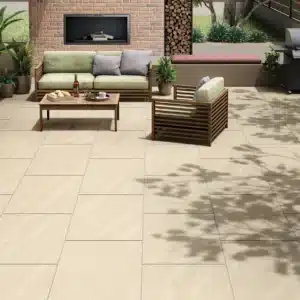
Lake Grigio Vitrified Porcelain Paving :
The Lake Grigio color of the paving is a stylish and sophisticated choice that can complement a wide range of architectural styles. The gray color is neutral and versatile, making it a great choice for both traditional and contemporary designs. The color of Lake grigio vitrified porcelain is timeless and will not fade or change over time, ensuring that it will continue to look great for years to come.
Additionally, Lake Grigio Vitrified Porcelain Paving is simple to maintain and keep clean. It is simple to remove dirt and grime since the non-porous surface does not absorb liquids or stains. The necessity for regular chemical treatments is also eliminated by the resistance of lake grigio porcelain to moss, mildew, and algae.
Conclusion :
Lake Grigio Vitrified Porcelain Paving is a durable, stylish, and low maintenance option for outdoor paving. The gray color is neutral and versatile, making it a great choice for a wide range of architectural styles. Additionally, the high-quality porcelain material is resistant to wear and tear and easy to maintain. It is definitely a great option for any outdoor paving project.
You can also check our related Products absolute grigio grey vitrified porcelain from here..
Slip Resistant – Stain Resistant – Frost Proof – Fade Resistant – No Maintenance Required!
Suggestions laying with adhesive on a Screed
1 Apply the adhesive spreading two layers, one on each surface (on the tile and on the foundation).
2 Arrange gaps of 3-5 mm between the tiles using the cross spacers provided for this purposes.
3 Upon completion, clean the surface thoroughly removing all residues of plaster and adhesive.
Suggestions laying dry on Grass
1 Once the positions of the tiles have been decided upon, remove the grassy surface for a depth of about 5 mm.
2 Place a layer of fine gravel or sand in the empty space to level it & stabilise the tile.
3 Position the tile, checking that it is flat and correcting this if necessary
Suggestions laying dry on Gravel and Sand
1 Flatten the surface of the foundation with the help of a leveling bar.
2 Choose the pattern, arranging the tiles on the ground.
3 Position the tiles exactly, using a bar to space them out (or cross spacers if positioned close together) to improve the alignment.


